
01. Calibrate the branch template
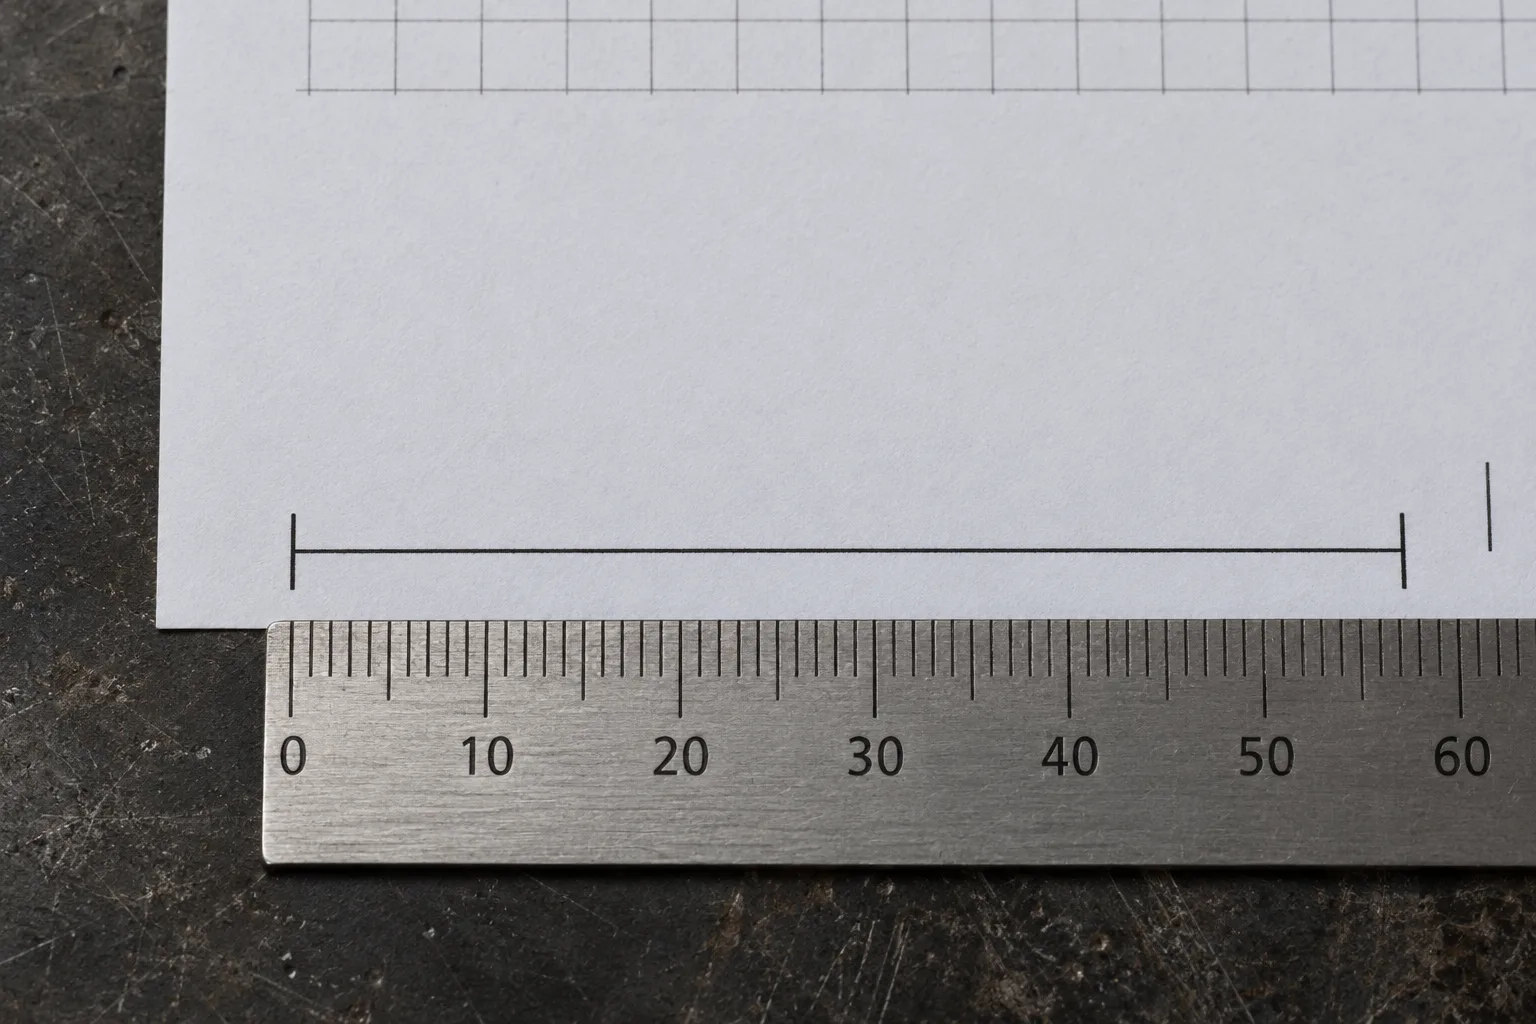
Confirm that the file is the branch-end notch template, not the main opening. Check branch OD, mating-tube OD, included angle and units. Use measured outside diameters rather than nominal pipe sizes.
Print single-sided at Actual size / 100% on the matching paper. Disable fitting, shrinking, multiple pages per sheet and a second poster-tiling operation. Measure the horizontal 100 mm and vertical 20 mm checks on each sheet.
Align the ruler zero with the end tick, not the physical edge of the ruler. If either direction is wrong, correct the settings and reprint; do not stretch the paper.
Completion check: both bars agree with the stated lengths to the accuracy the job requires. The illustration shows measurement only; its reading is not a passed calibration.
02. Assemble the complete flat pattern
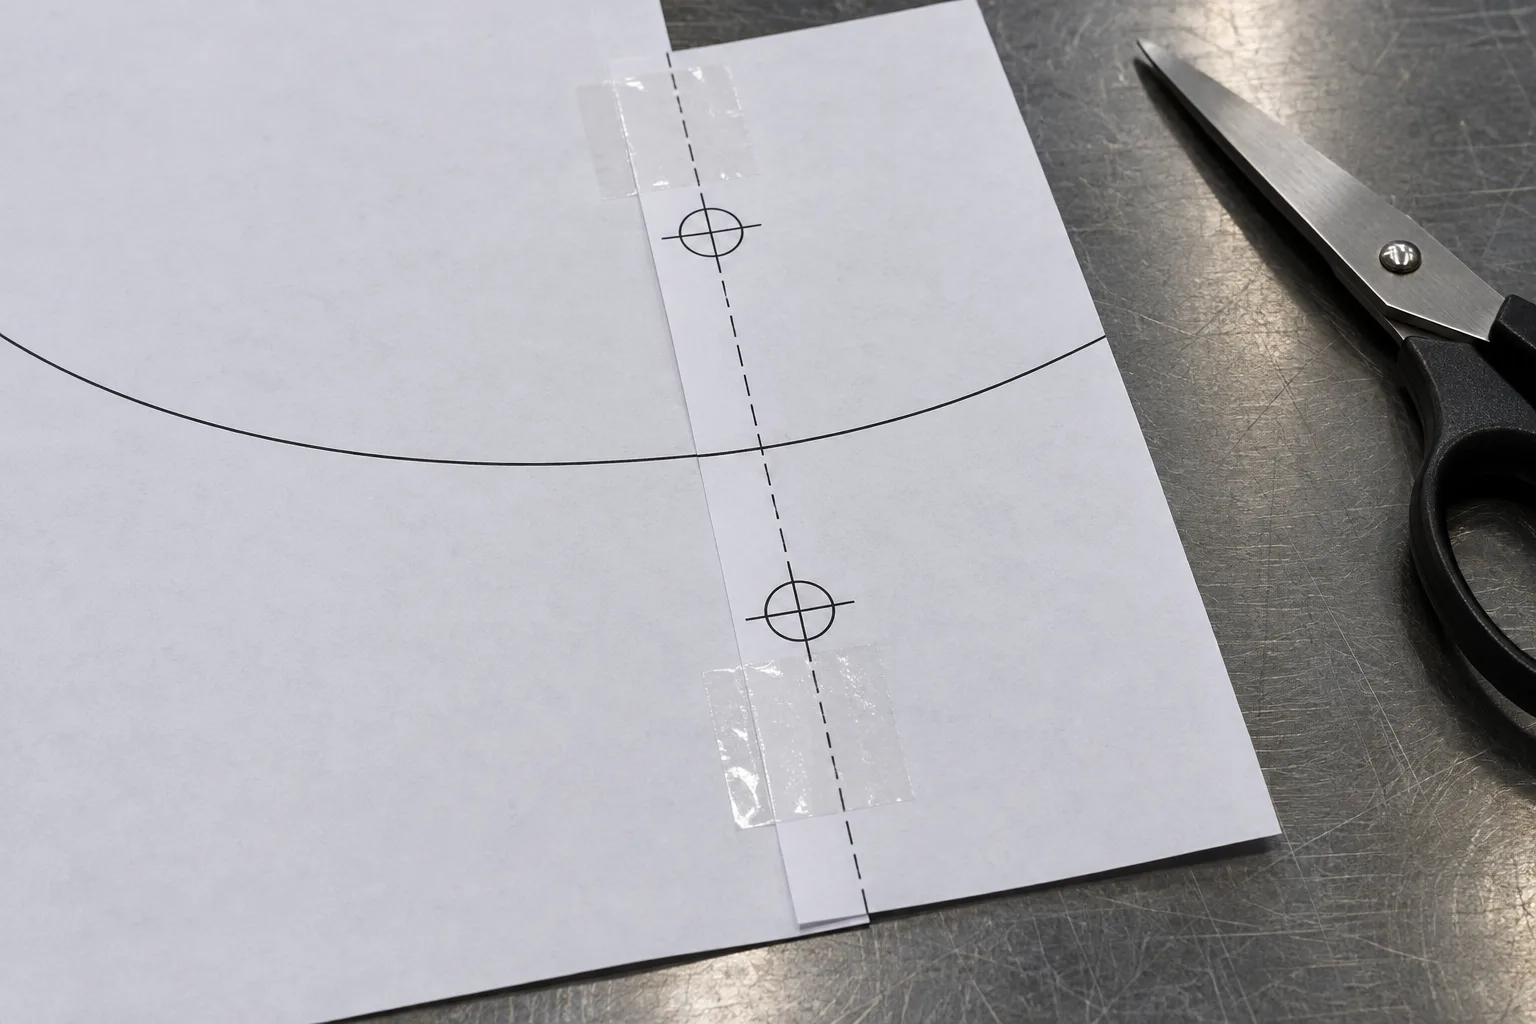
Arrange tiled sheets left to right, then top to bottom using rows, columns and large page numbers. Check the same template code and paper size. Skip joining for a single sheet.
Only trim an indicated left or top edge when it has a neighbor. Overlay it on the preceding page, align BOTH paired A/B circled crosses and tape the join.
Do not butt paper edges. Content outside the trim line repeats the neighboring page; correct overlap preserves the curve. Do not add that strip to the assembled width again.
Completion check: the curve and grid remain continuous across joins. Paper-page overlap is not extra circumference to add at the 0°/360° tube seam.
03. Prepare the branch and square-end reference
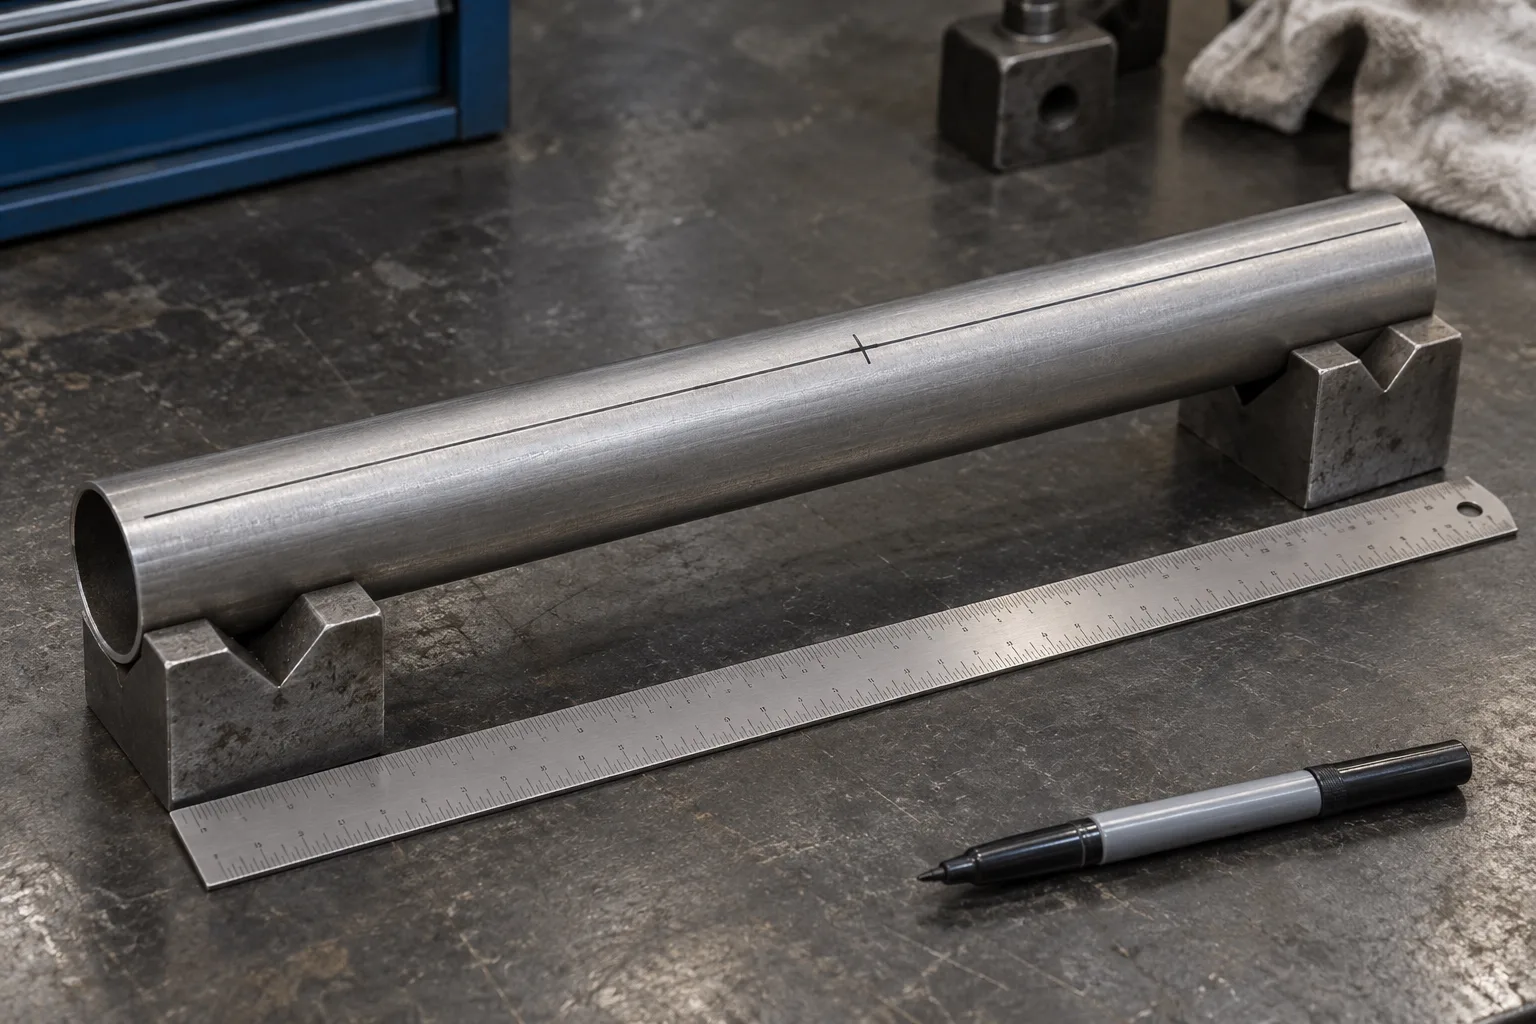
Clean and support the branch against rolling. Mark an axial generator to locate the template 0°/360° seam. Transfer any required rotational orientation from the job drawing first.
The dash-dot square-end datum represents a plane perpendicular to the tube axis. Cutback is measured from that plane toward the retained tube. A crooked stock end is not a reliable square-end reference.
This calculator makes the end profile, not the finished length of the whole part. Choose the datum position from the drawing and leave sufficient material for the complete notch.
Completion check: the datum is square, orientation is known and stock allowance is sufficient. This illustration shows an axial reference and support only; it does not define a main-opening center for this task.
04. Wrap, align the seam and trace the notch
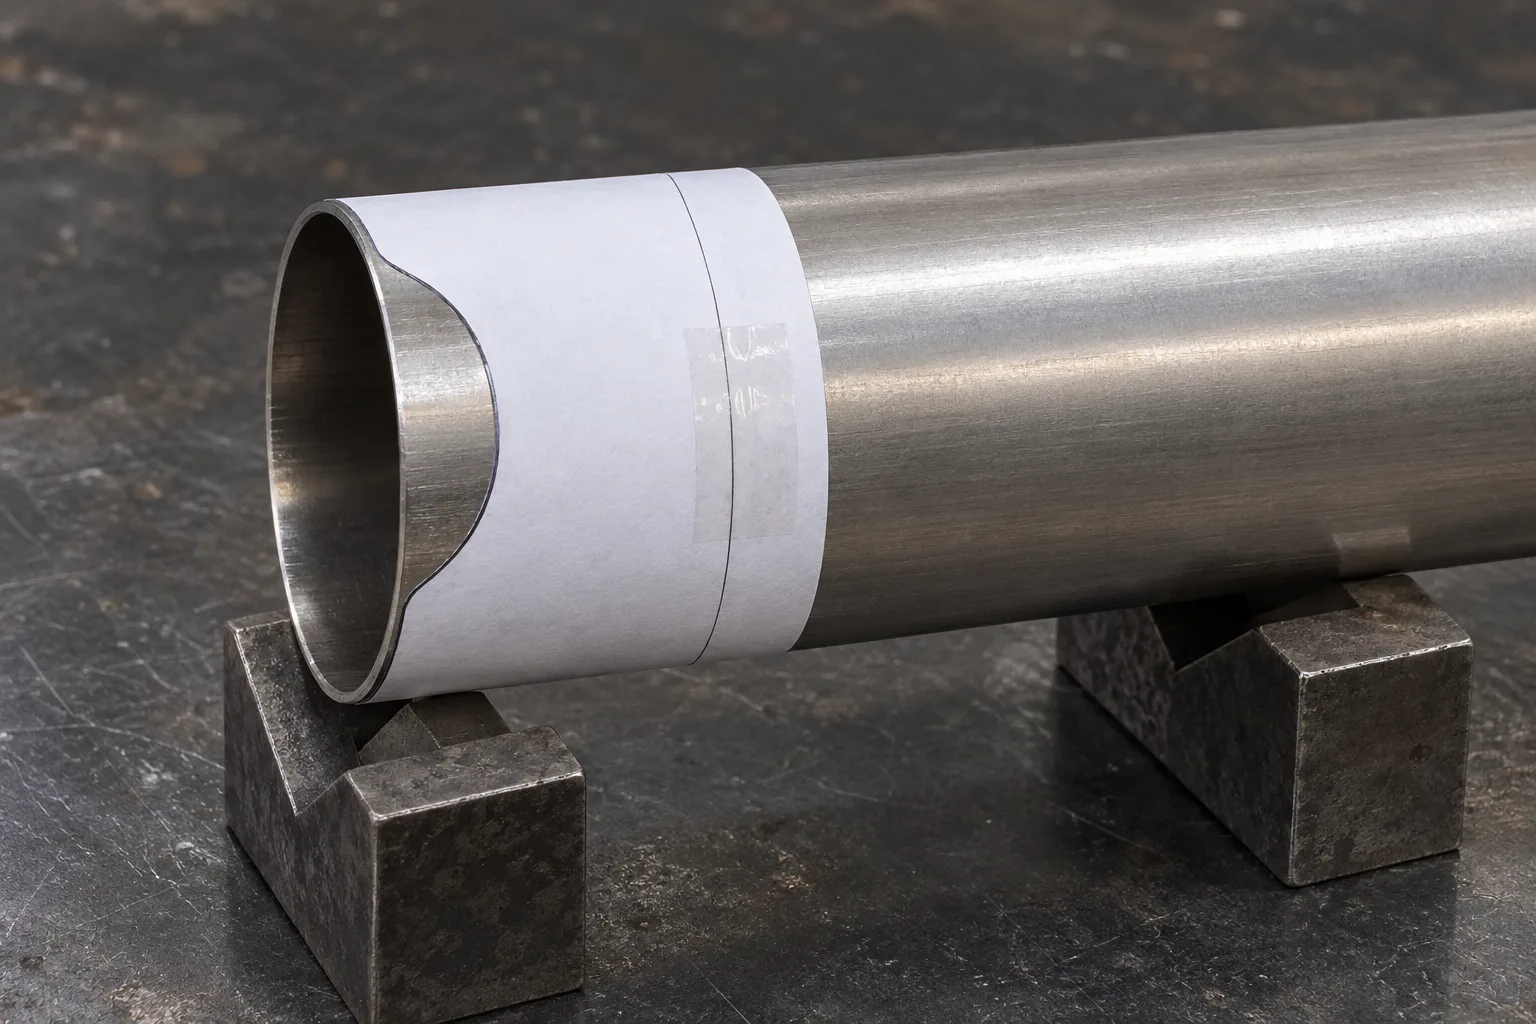
Wrap the pattern around the full branch circumference. Bring the PRINTED 0° and 360° seam lines onto the same axial generator. Match printed references, not blank paper margins, and do not stretch the sheet.
Keep the square-end datum at one perpendicular section all the way around. Tape the pattern without skew, bubbles or folds. If the seam does not meet, check scale, measured OD and page assembly rather than trimming the pattern by eye.
Transfer the intact curve with transfer paper, or preserve seam and datum marks before trimming the paper along the curve. Keep the paper over the retained tube, reposition from the marks and trace the edge. The illustration shows the trimmed-paper method.
Above the curve in the flat drawing, toward the working tube end, is removed; the tube below the curve is retained. After rotating the paper, follow those physical references rather than screen up/down. Mark the scrap side in words. This is not a closed hole in the main sidewall.
Completion check: the metal line is continuous around the tube and joins at the 0°/360° seam; datum, orientation and scrap side are unambiguous.
05. Cut the end and finish the rim
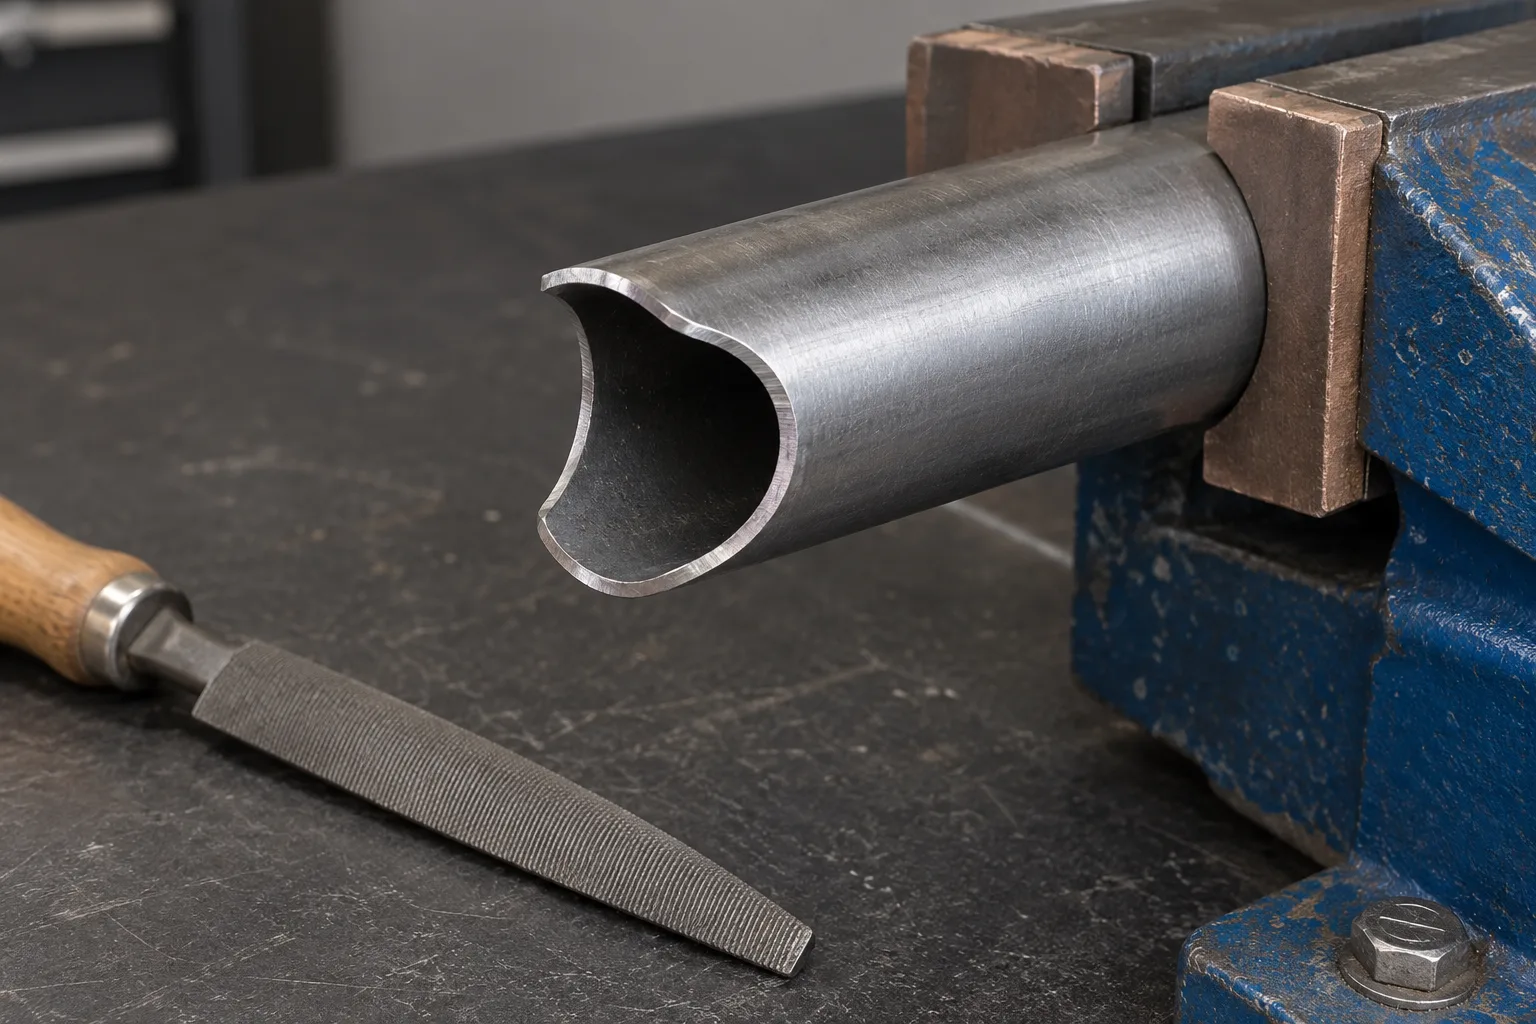
Remove paper and tape, reclamp the work and verify the scrap side. Choose a cutting method suitable for the material, wall and equipment, following the equipment instructions and protective measures.
The template is an outside-surface intersection, without kerf, wall-thickness, bevel or weld-gap compensation. Tool-center placement and finishing allowance must follow the actual process.
Deburr and remove local high points in small stages while retaining references to the intended profile. On angled or thick-wall joints, the inner edge may contact the mating tube before the outer edge fits.
Completion check: the rim is ready for a dry fit and the correct scrap was removed. Do not force a naturally asymmetric angled notch to look symmetric.
06. Dry fit against the mating tube
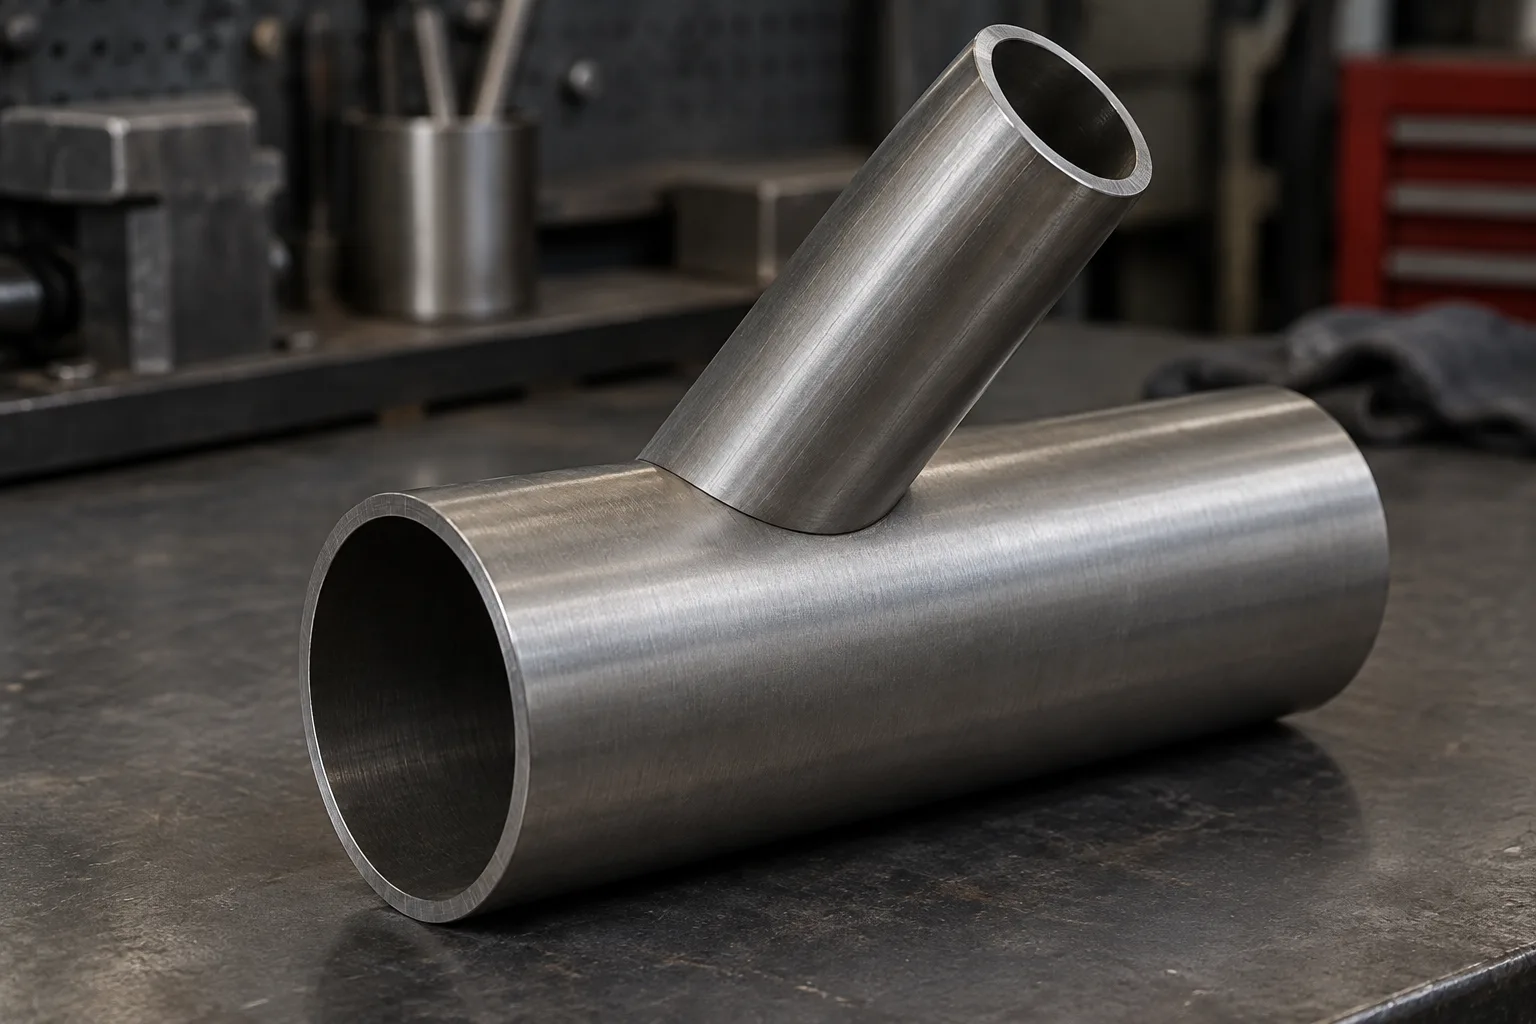
Place the branch end against the actual mating tube at the required included angle and rotational orientation. Measure the tube centerline angle, not the slope of one section of the fishmouth rim.
Inspect contact and gaps around the joint, identify local interference and finish gradually. Do not change the angle, force the assembly or enlarge the whole notch to hide a dimensional error.
If the main also needs a passage, use the separate main-opening tool and choose the correct set-on or set-in connection. A branch-end template is not a main-hole template.
Completion check: record measured ODs, angle, template code, print calibration and fit results. Confirm on a test piece before repeating parts; welding and pressure/structural requirements remain separate.
When the seam or notch does not fit
Seam too short or long: check both calibration bars, actual OD and units, then page overlap. Paper edges do not define the tube circumference.
Seam meets but the pattern is skewed: check that the square-end datum remains in one perpendicular section, then refit the paper.
Notch faces the wrong way: check rotation, branch orientation and scrap side. Enlarging the notch cannot restore incorrectly removed stock.
Outside rim nearly fits but the joint still binds: inspect inner-edge interference, wall thickness, mating-tube roundness and local high points.